

How To Create 80s Style Retrowave / Synthwave Art in Adobe Photoshop
Creation of 80s Style Retrowave Synthwave Art
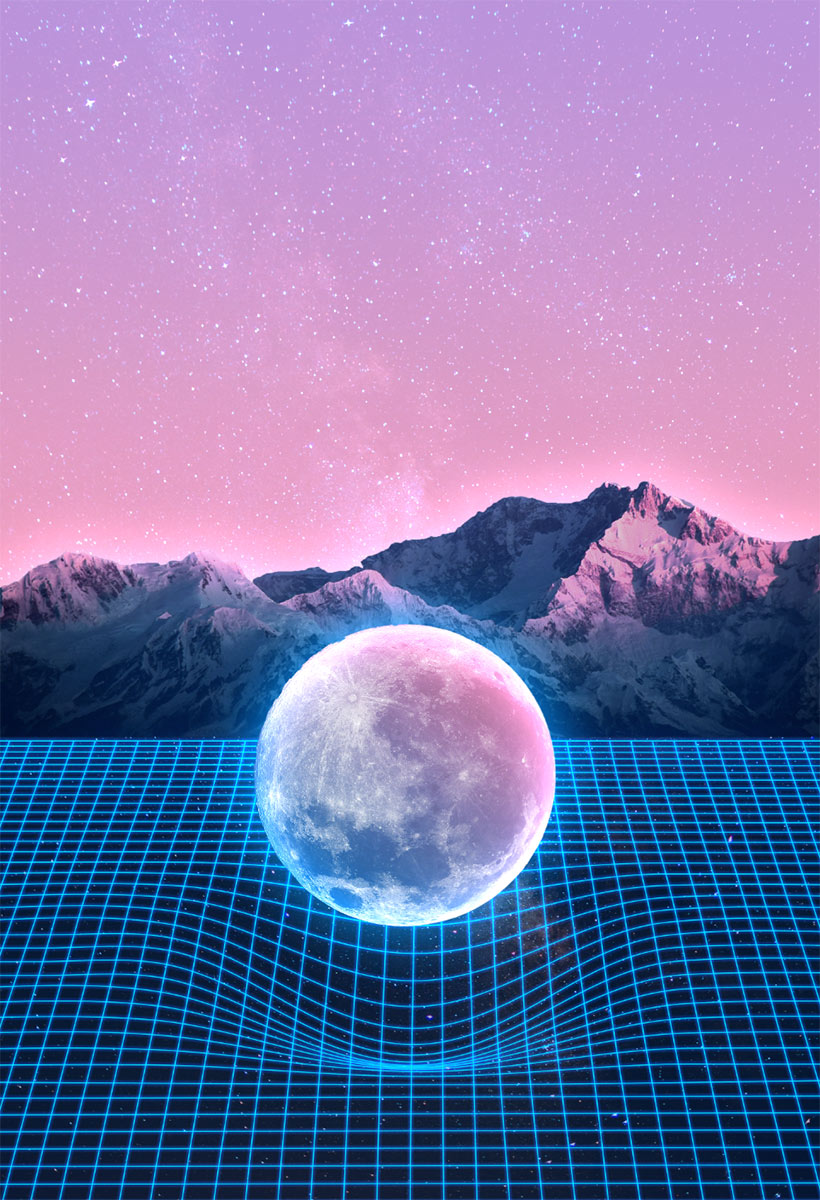
Just like the Retrowave music genre, the aesthetics of the 1980s have inspired the popular art style that incorporates visual elements from 80s arcades, action movies, fashion and pop culture. Wireframe computer graphics, reflective chrome text, electric blues and hot pinks are just some of the themes associated with this nostalgic style. Follow along with this Adobe Photoshop tutorial to create your own retro artwork, featuring a surreal sci-fi scene with vivid colours.
Later
You can immerse yourself with 80s inspired art with a quick Pinterest or Tumblr search, where you’ll quickly discover reoccurring elements and styles that form the basis of this popular look. Some of those features we’ll use in this tutorial are the Tron-like grid, distant mountains on the horizon, vibrant dusk sky and a floating moon to create a surreal scene you might expect to find on a synthwave album cover or on the side of an arcade machine!
How to use Milky Way
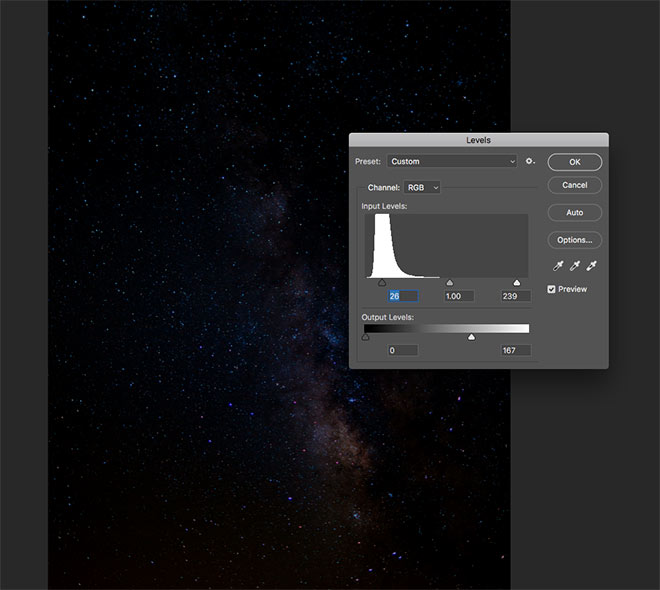
We’ll use this Milky Way photograph as the background to the artwork to provide a subtle cosmic scene to build upon. Use the Levels (CMD+L) to darken the image by dragging in the shadows slider and clipping the highlights in the output levels.
Adobe Illustrator
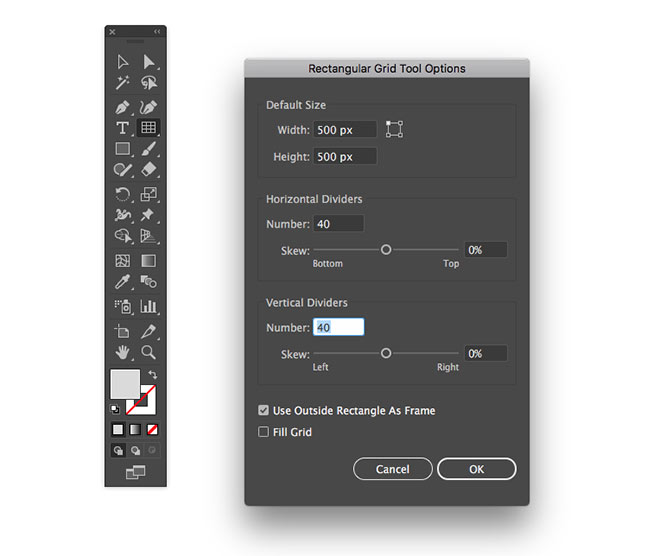
Adobe Illustrator has some more convenient tools available to create the Tron-esque grid. Create a new Illustrator document and double-click the Rectangular Grid Tool to adjust its settings. Configure the size to 500px, with 40 dividers on both axis. Click on the artboard to generate a grid.
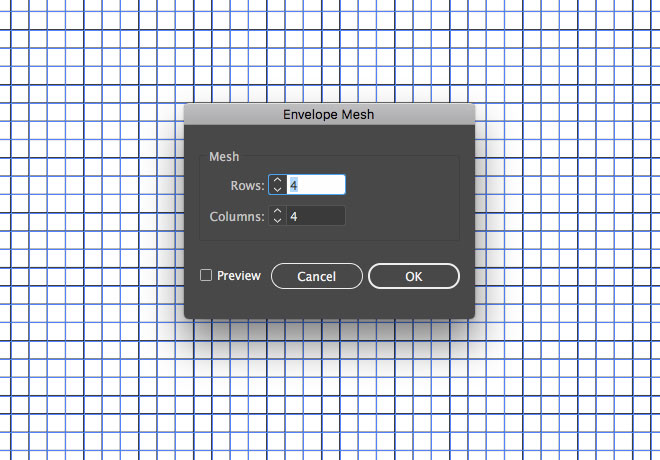
Head to Object > Envelope Distort > Make With Mesh. Enter 4 rows and columns.
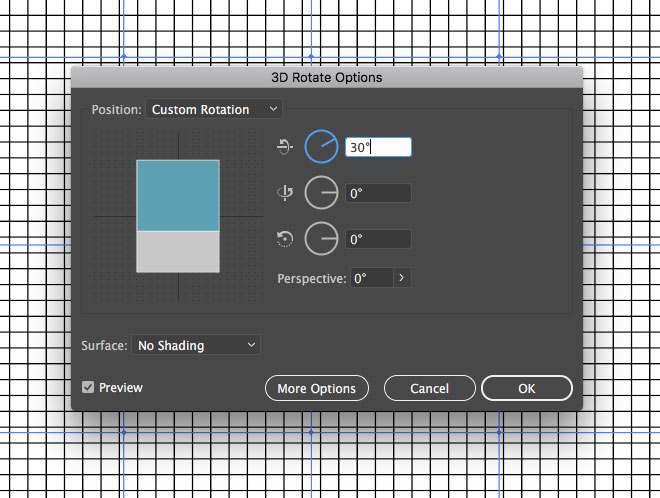
Go to Effect > 3D > Rotate and configure the degree amounts to 30, 0, 0.

Switch to the Direct Selection tool, then click and drag the centre mesh point downwards while holding the Shift key.
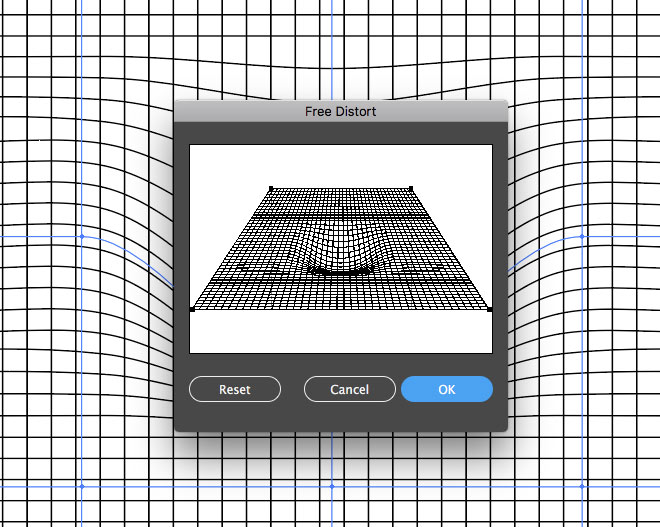
To produce a perspective effect, go to Effect > Distort & Transform > Free Distort. Drag each of the lowermost points outwards towards the edge of the window, being careful to keep the line straight.
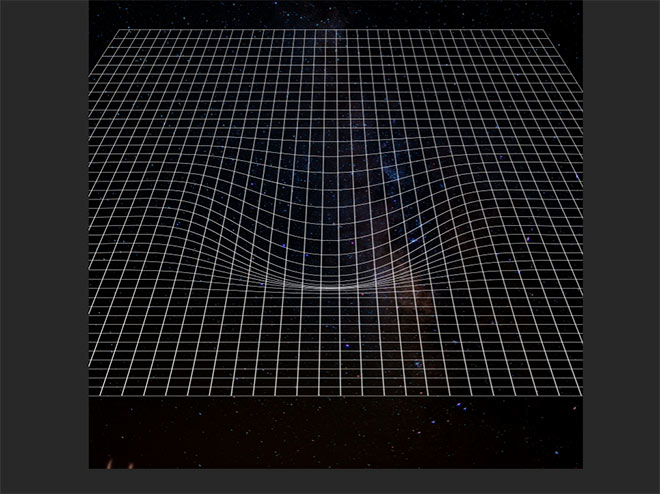
Copy (CMD+C) and Paste (CMD+V) the grid over to Photoshop. Scale it to size and render it as pixels, then press CMD+I to Invert the colour to white.
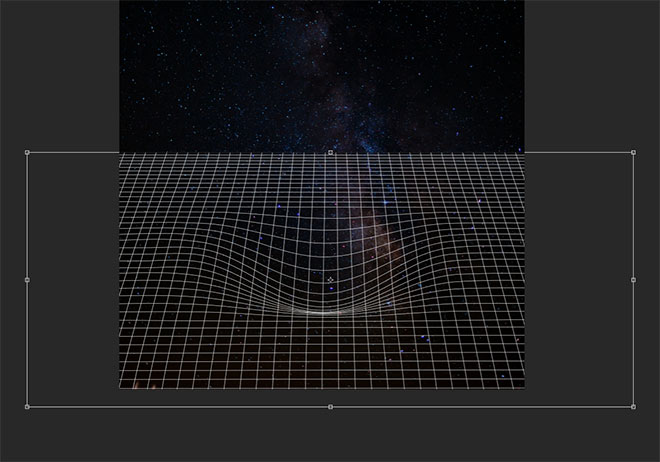
Press CMD+T to Transform, then squash, stretch and scale the grid to fill the lower portion of the canvas.
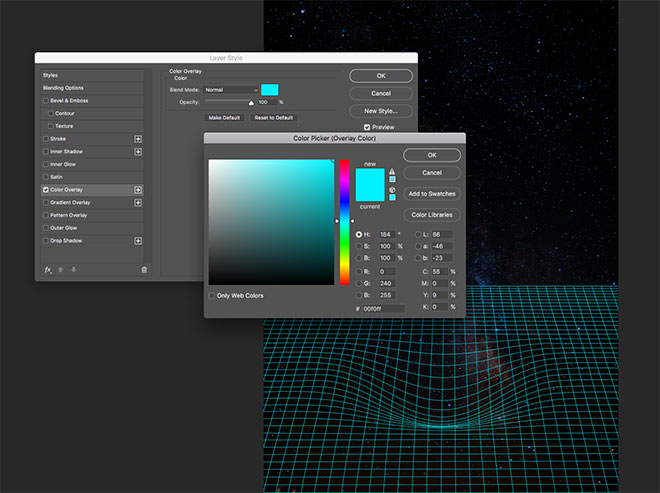
Double click the grid layer and add a Color Overlay. Use a bright electric blue of #00f0ff.
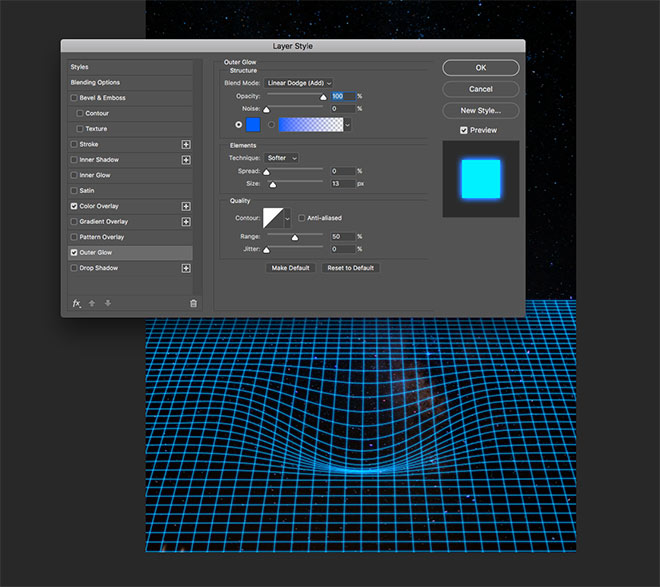
Add an Outer Glow to give the grid an illuminated neon appearance. Use a mid-blue of #0060ff with the Linear Dodge blend mode, then alter the size to around 13px to add a soft glow.
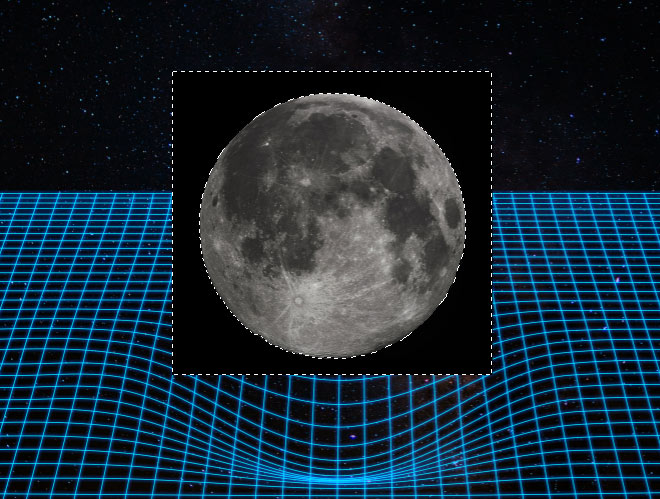
Download the free Wikimedia Commons image of the Moon and paste it into the document. Use the Magic Wand tool to select and delete the black background.
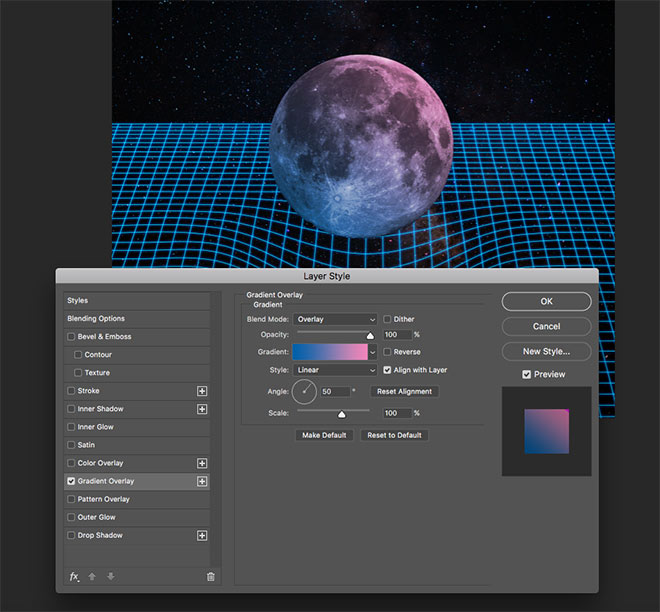
Double click the layer to add a Gradient Overlay. Set up a gradient from a mid-blue (#0060a8) to soft-pink (#f484be) and set the blend mode to Overlay.
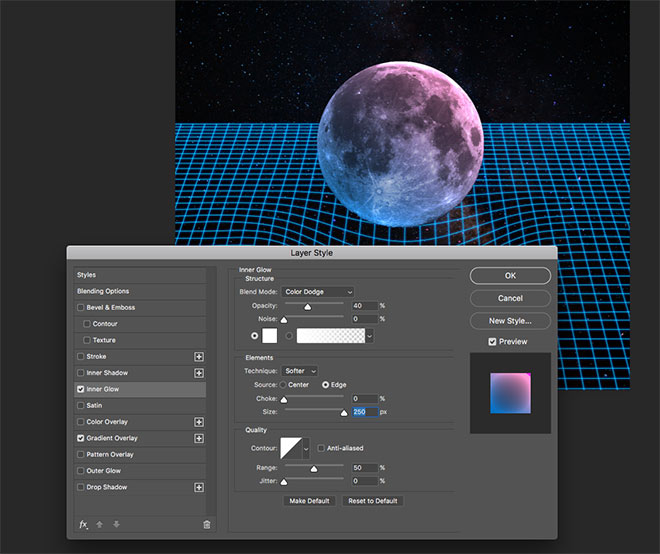
Add an Inner Glow effect and set the colour to white, the blend mode to Color Dodge, and size to 250%, then reduce the opacity to around 40% to reduce the harshness of the glow.
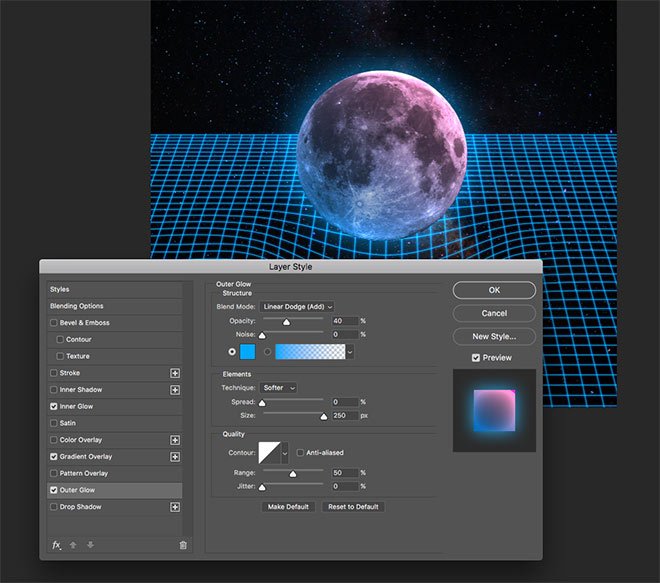
Apply an Outer Glow and set colour to a bright-blue (#00a8ff). Also configure the size to 250% and opacity to 40%, but using the Linear Dodge blend mode.
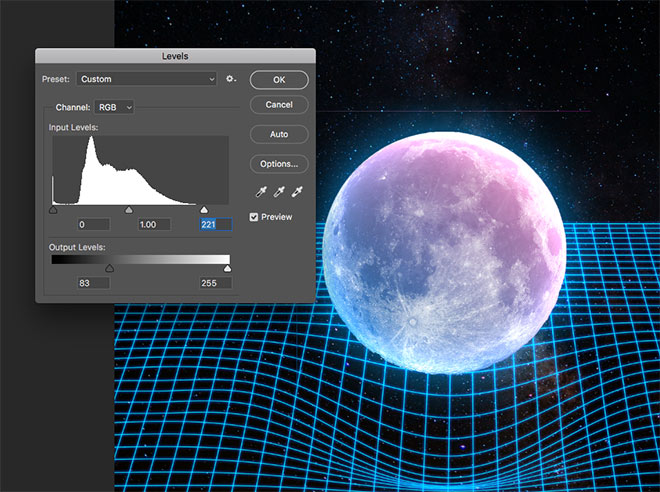
Click OK to apply the layer style effects, then use the CMD+L shortcut to adjust the Levels of the moon image. Brighten the highlights by moving the white slider leftwards, then clip the darker areas by moving the Output Levels shadows inwards.
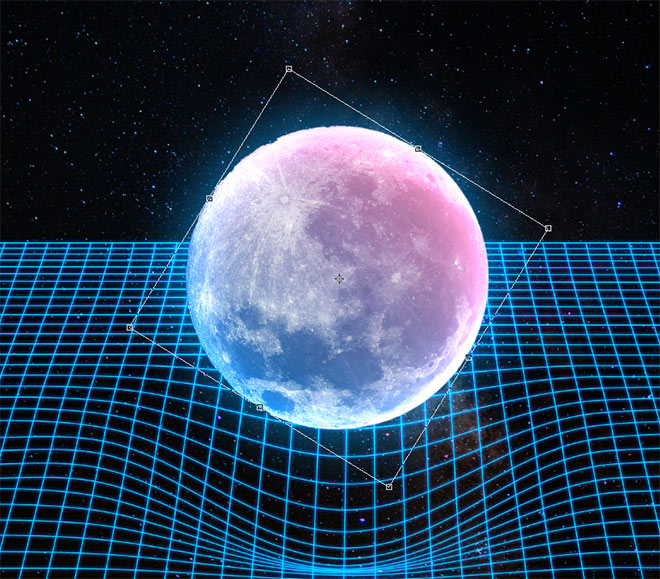
The moon can be rotated if necessary using the CMD+T shortcut to move the texture around and place the darker portions towards the bottom.
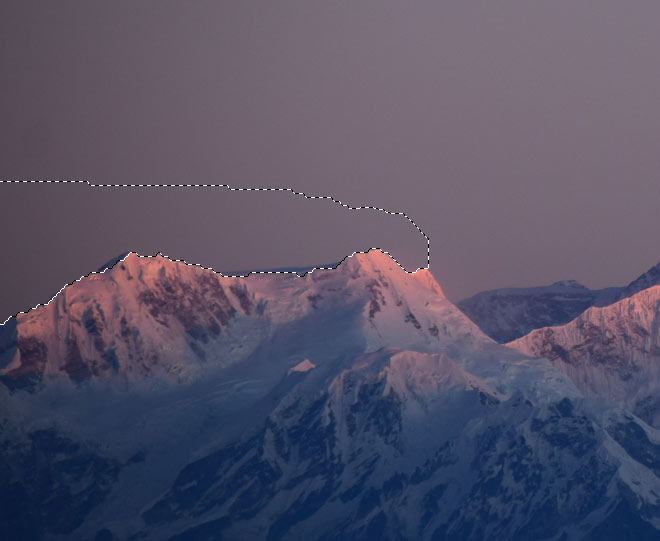
Download a mountains photograph and open it in Photoshop. Use the Quick Selection tool to trace a selection across the mountain tops.
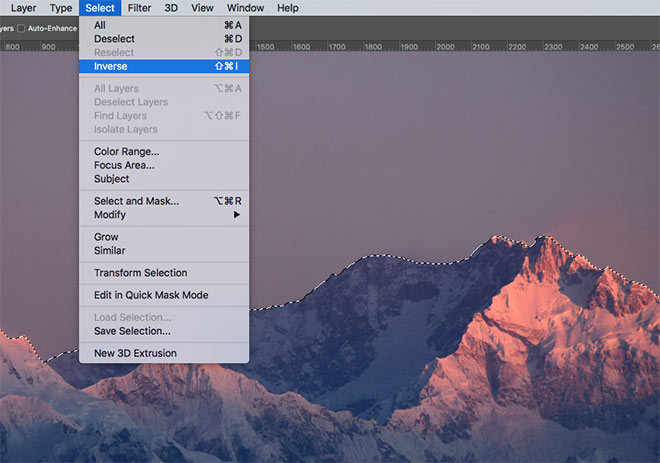
Go to Select > Inverse to flip the selection to contain the mountains, excluding the sky, then copy and paste the selection into the main document.
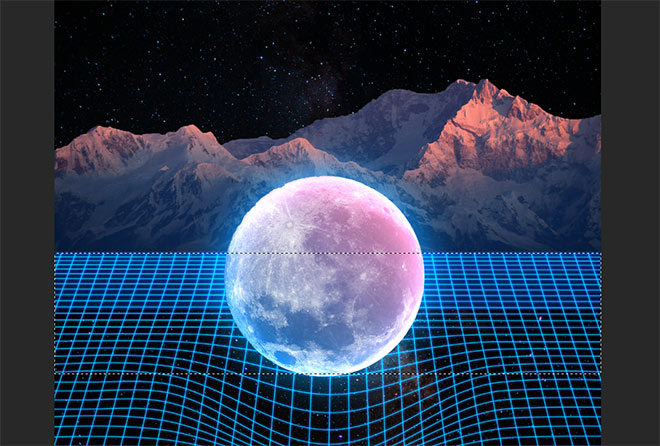
Paste and scale the mountains to sit on the horizon above the grid, then trim any excess that overlaps using the marquee tool and the backspace key.
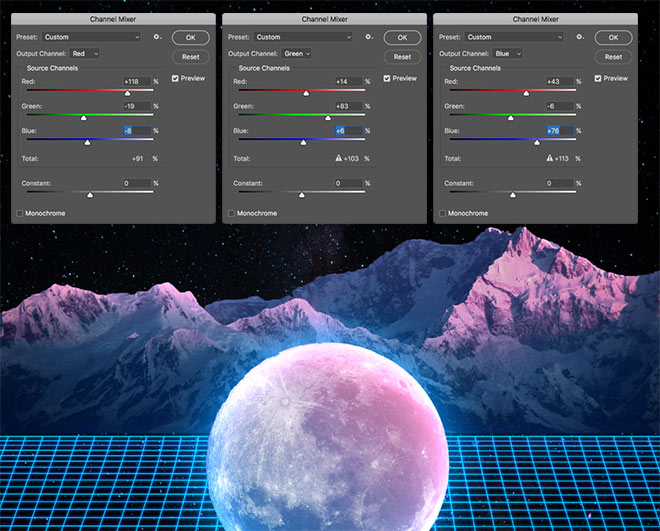
Go to Image > Adjustments > Channel Mixer and adjust the sliders for each of the Red, Green and Blue output channels from the dropdown menu in turn to match the hue of the mountains to the pink of the moon gradient.
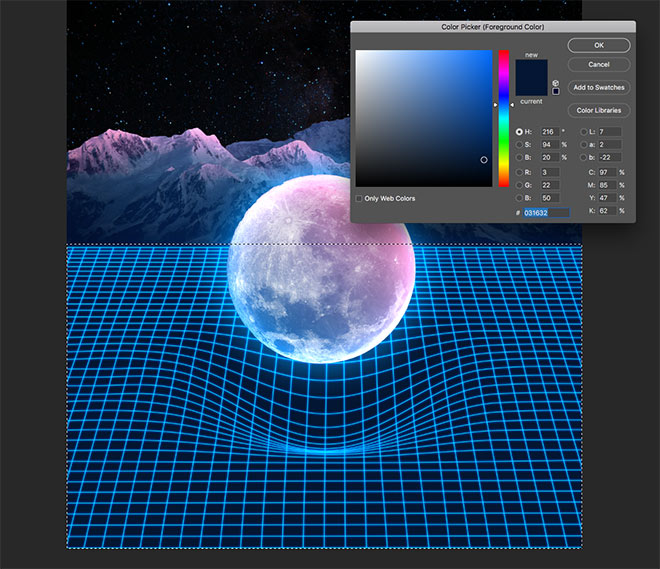
Add a new layer underneath the grid and use the rectangular marquee tool to draw a selection across the lower portion of the canvas. Fill it with a dark blue (#031632) sampled from the darker area of the mountains.
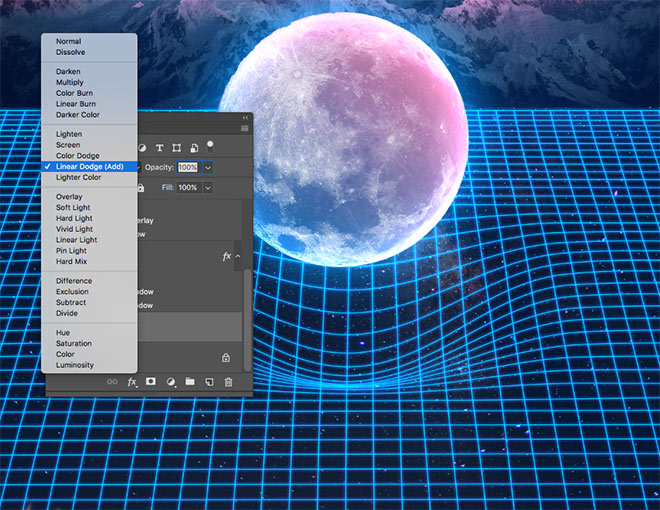
Change the blending mode to the blue background layer to Linear Dodge to apply a vivid colour cast to the cosmic backdrop.
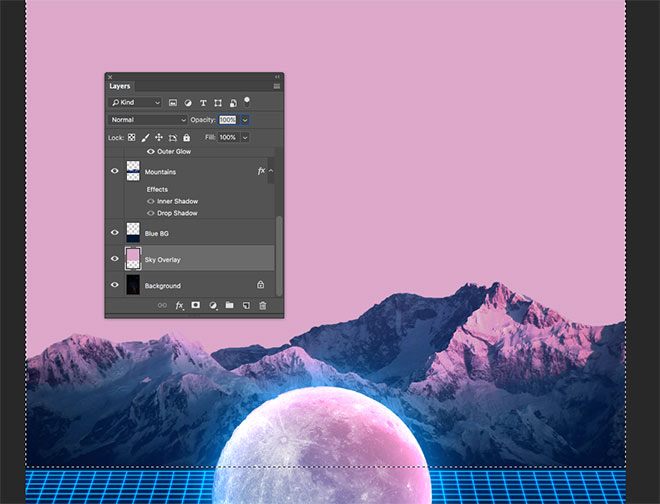
Fill a selection of the upper portion of the canvas with pink (#dca8ca) on a new layer.
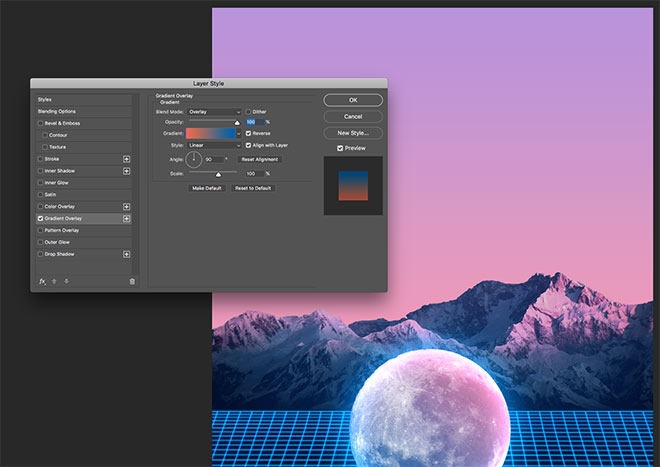
Double click the pink background layer to add a Gradient Overlay. I’m using a preset from my free duotone gradients with the Overlay blend mode to apply a colour fade to the sky. Set this layer’s blending mode to Linear Dodge.
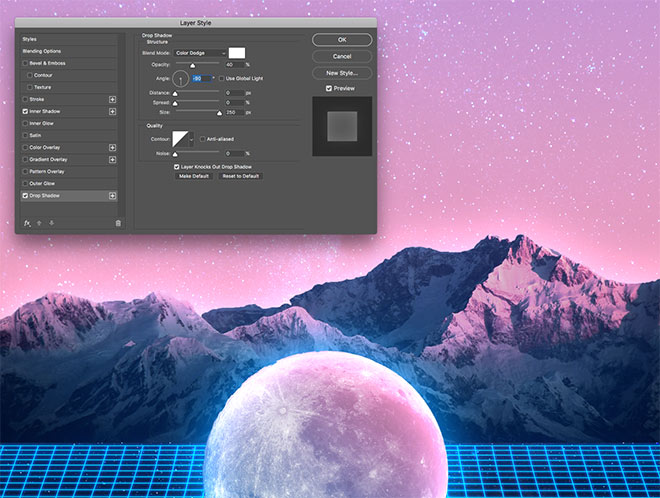
Add a glow to the mountains layer using a Drop Shadow layer style. Edit the settings to white, Color Dodge, max size, zero distance & spread, then uncheck Use Global Light and instead enter -90° to display the glow only on the upper edge. Reduce the opacity to around 40%.
The final result is a vibrant 80s inspired surreal art piece that would be ideal for a Retrowave album cover! Free stock photographs provide the basic elements, then additional assets such as the grid can be manually drawn in Adobe Illustrator. Photoshop’s layer style effects then illuminate the artwork with various glows and lighting effects.
Credits:
https://blog.spoongraphics.co.uk/tutorials/create-80s-style-retrowave-art-adobe-photoshop


Leave a comment